
Basic UR – Lesson 1 – Teach Waypoints.
GUI Programming environment – in Polyscope.
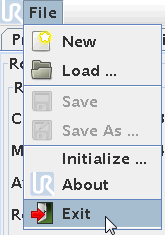
From wherever you are in the menus – Press “File” and “Exit” to return to the Main menu.
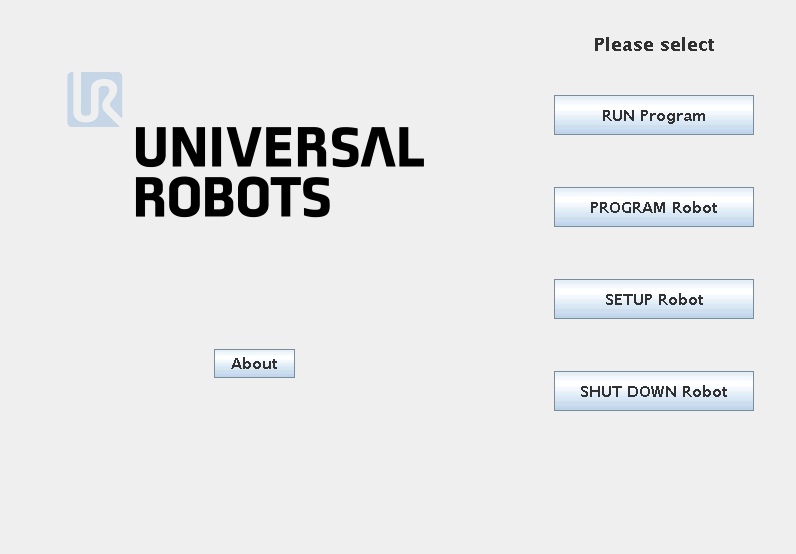
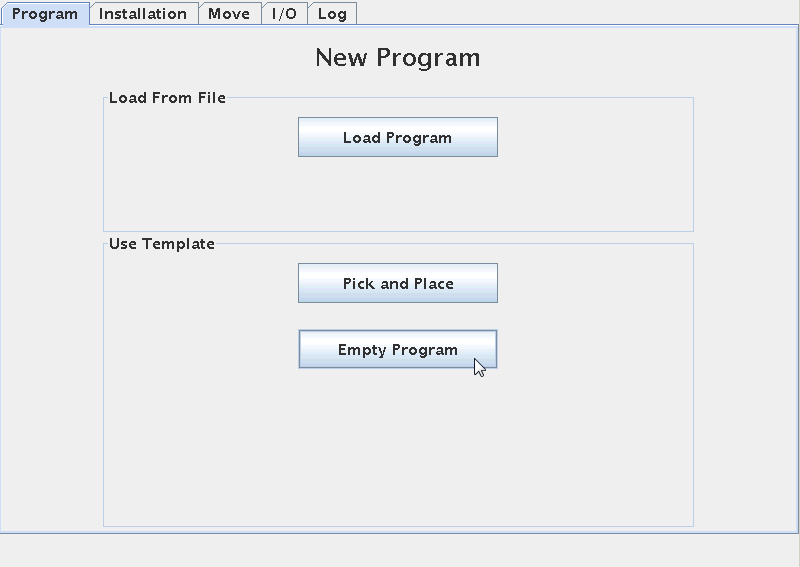
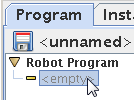
At Main menu – Choose Program Robot – and select “Empty Program”.
Which leads you to the program screen which properly in the future will be the screen you will be at most of the time. This is where you build up your program and test run it.
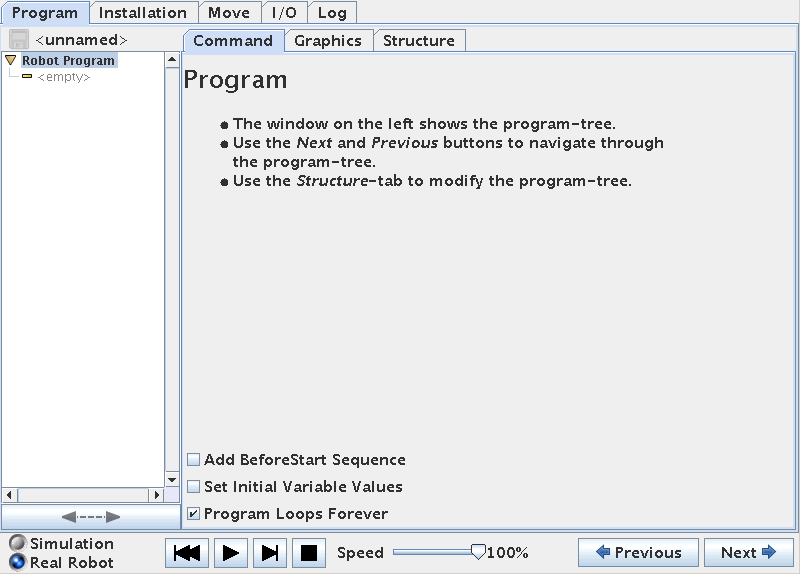
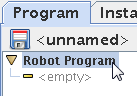
The left side is the program window where the program statements will be inserted line by line downwards.
At the moment the program block is empty and empty. That’s why the test is yellow because nothing is defined. We can also it says “unnamed” because we have not loaded or named any program at this moment, but very soon we will make a small program.
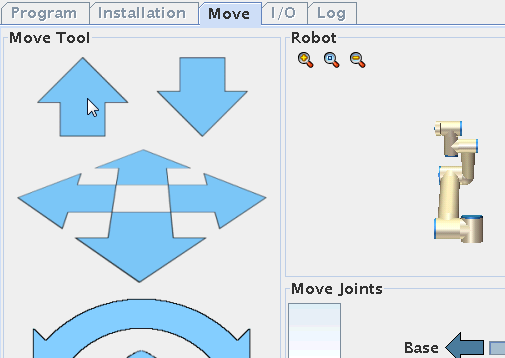
In the middle there are 3 tabs – Command – Graphics – Structure. We are actually in the Command tab already and that’s why it is highlighted.
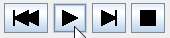

Below is 4 control buttons which looks like a CD player which we will use when we start our program later. There is also a “Speed” indicator from where the speed of the robot program can be manipulated to be used during commissioning and troubleshooting (This is not intended to control the speed of the robot during live run which will be explained later).
MoveJ, MoveL and MoveP.
The robot can be programmed in different ways. From the Polyscope GUI which is an onscreen method or remotely by script programming. In this chapter we use the user friendly touch screen GUI method.
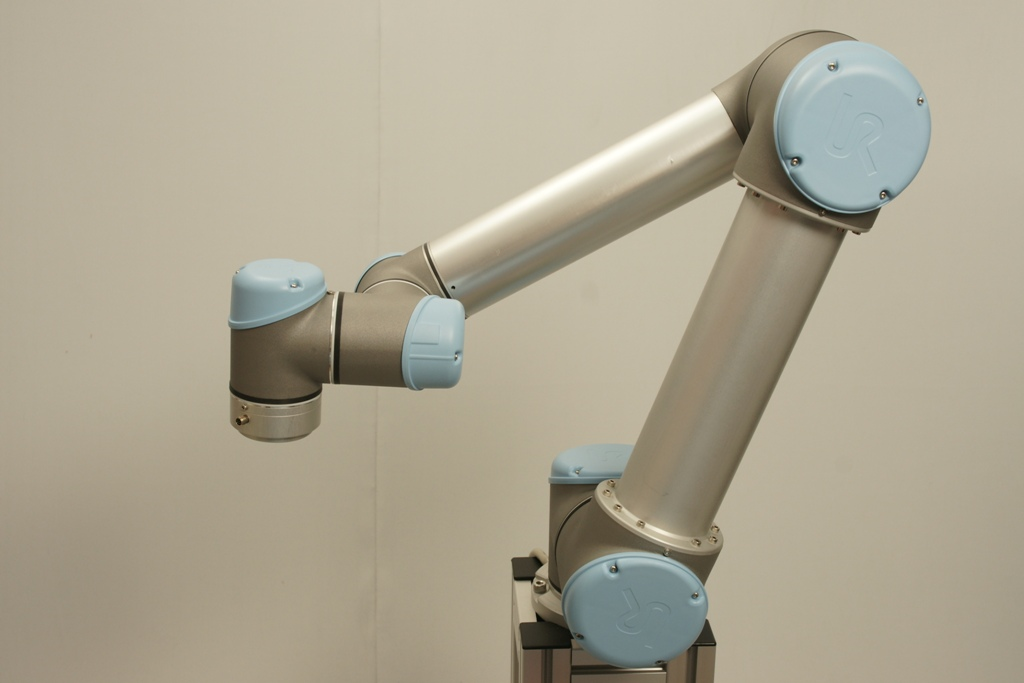
The UR is a 6 axis robot with 6 rotating motors. Therefore the nature of a move is a rounded move.
The joints are connected with the aluminium tubes and can be compared to an arm. So it is important to understand that a move by the robot and its arms tend to be circular in nature because the arm is solid. Maybe think of a cars window viper to visualize this nature.
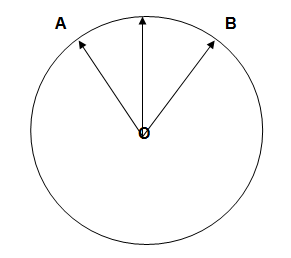
For the robot to move from A to B it is obvious that it is necessary to use a circular move if only one axis is observed for example the base.
(Later we will see that if more axes are used then it is possible to make this move linear).
The robot has three main ways of calculating how to move from Waypoint to Waypoint which is a Non linear movement “MoveJ” – a linear movement “MoveL” and a circular movement (MoveC) which is under a Process move “MoveP”. The “J” indicates the rounded nonlinear move mode and the “L” indicate the linear move mode. The non linear (MoveJ) is the default and the most commonly used and the one to recommend using if it is not absolutely a must to use a linear move. The difference is the way the robot calculates and how to move to next position. In the non linear (MoveJ) method the robot might seem to take a slight bended route from point A to point B – this is because of the physical construction of the robot – the lengths or “arms” and “wrists” combined with when the motors are turning. This is normally not an issue in normal pick and place operation and can easy be overcome by inserting more waypoints – like mentioned above.
But if you want the have an absolutely perfect linear move from point A to point B it is possible by using linear move (MoveL). However the downside to this that turns and smooth bends now become more difficult to perform. In pick and place you properly need to go in and out up and down and around most of the time and a linear move is not important – so MoveJ is recommend to use in most pick and place applications.
MoveJ (Joint Move – Non Linear Movements).
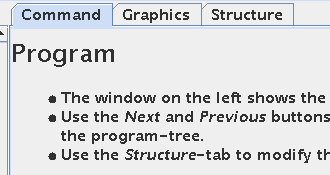
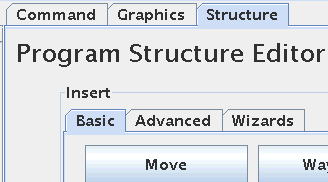
The “Command” tab and the “Structure” tab is properly the most used tabs on the robot control and programming the robot is a frequent use of “Command” and “Structure” tab.
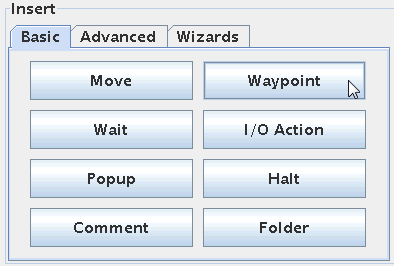
Press the “Structure” tab. This brings you to the first of 3 different programming menus “Basic – Advanced – Wizards” to choose from when we build up our program.
The very first thing we need to do I robot programming is to define our path and movement for the robot. This is done by defining Waypoints (positions). So we define the positions the robot has to go through rather than the actual path. In other words we choose a position e.g. “A” and next position e.g. “B” and then the robot will calculate how to come from “A” to “B”. (Not to be confused with that the robot records the path we moved the robot by hand or by control.
Start programming.
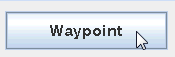
Let’s get started to program and now choose a Waypoint. Press the “Waypoint” button.
Notice – if this is the very first entry into the program then the robot will prompt an error messages that says “Waypoint has to be under a Move”.
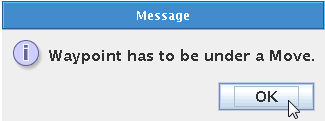
So we need to go back to the program screen – Press OK to acknowledge the messages.
We need to be in the section where we can insert program lines – so point and press on the “empty” word so it becomes highlighted.
Now again Press the “Waypoint button”.
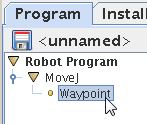
Notice how a “MoveJ” and “Waypoint” has been inserted and it starts looking like a program tree. The statements are still yellow because we have not defined the position of this Waypoint.
MoveJ is the default and that’s why this is automatically chosen for us here. Later MoveL will be explained.
Program “Home” position.
This first Waypoint is also what becomes this user program “Home” position and this can be anywhere and therefore different as to the robot home position discussed in the Move Screen.
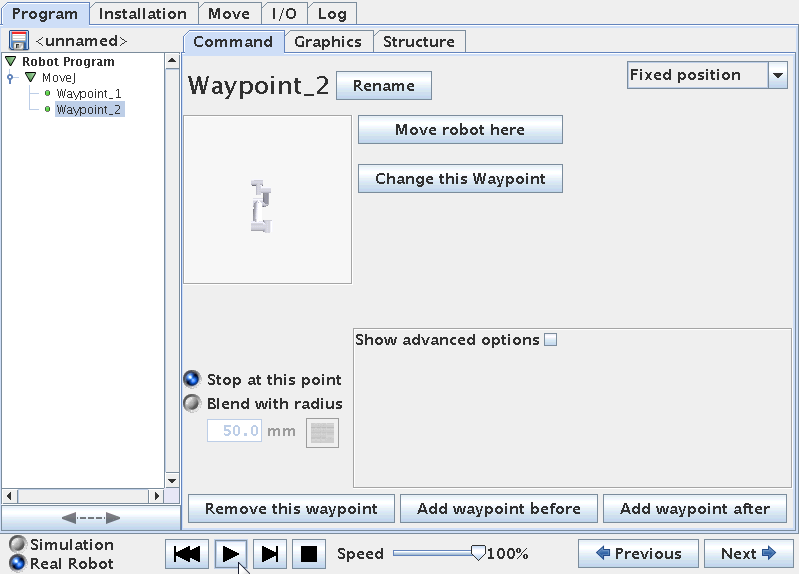
We need to define each Waypoint we insert into out program. Point and press on the Waypoint we want to define – in this case there is only one because we just started programming. Press the “Command” tab.
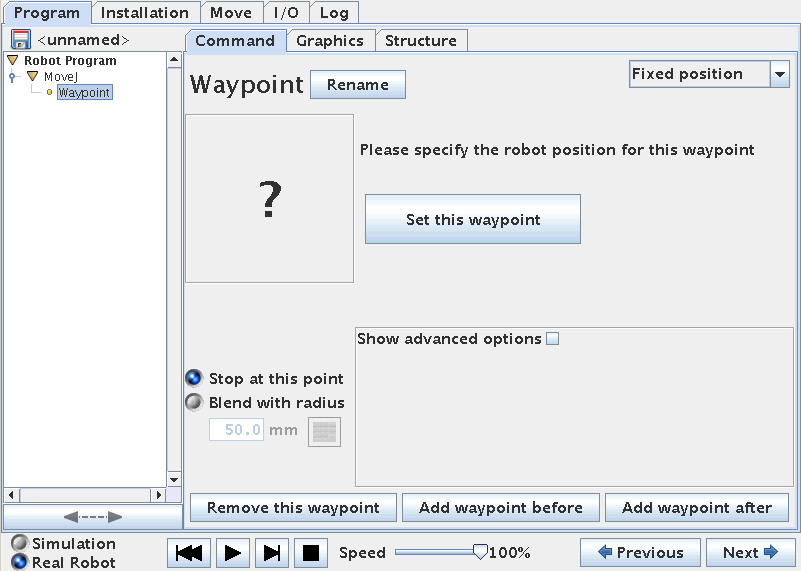
Because we have pointed out the Waypoint in the program tree we now get this screen with a big “?” question mark – like it is asking us where should this waypoint be ?
So we need to set. Press the “Set this Waypoint” button.
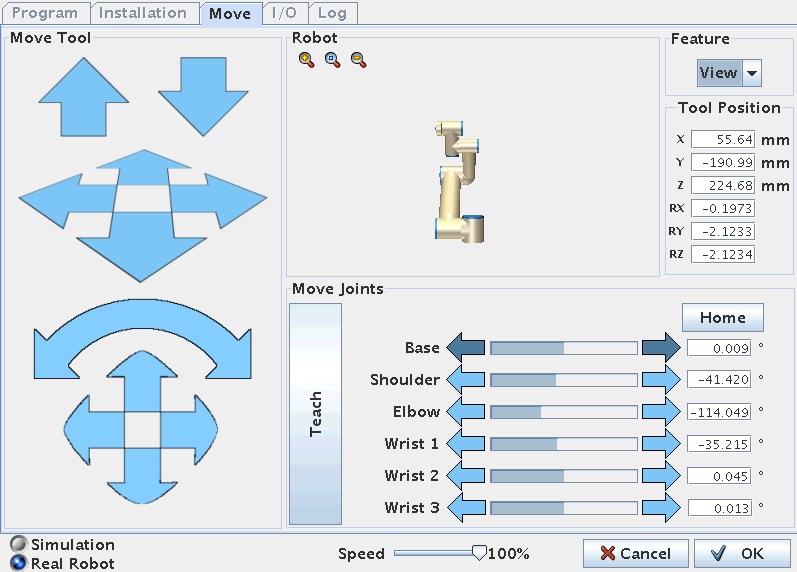
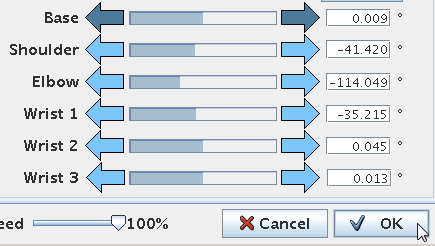
This brings us the Move Screen. We can choose to use the Move Screen to move the robot into position by pressing the arrow keys on the bars.
Teaching button.
But the arrow keys are more useful when we need to fine adjust our Waypoints. Here in the beginning to define our rough positions it is faster to use the “Teach in mode” by moving the robot by hand.
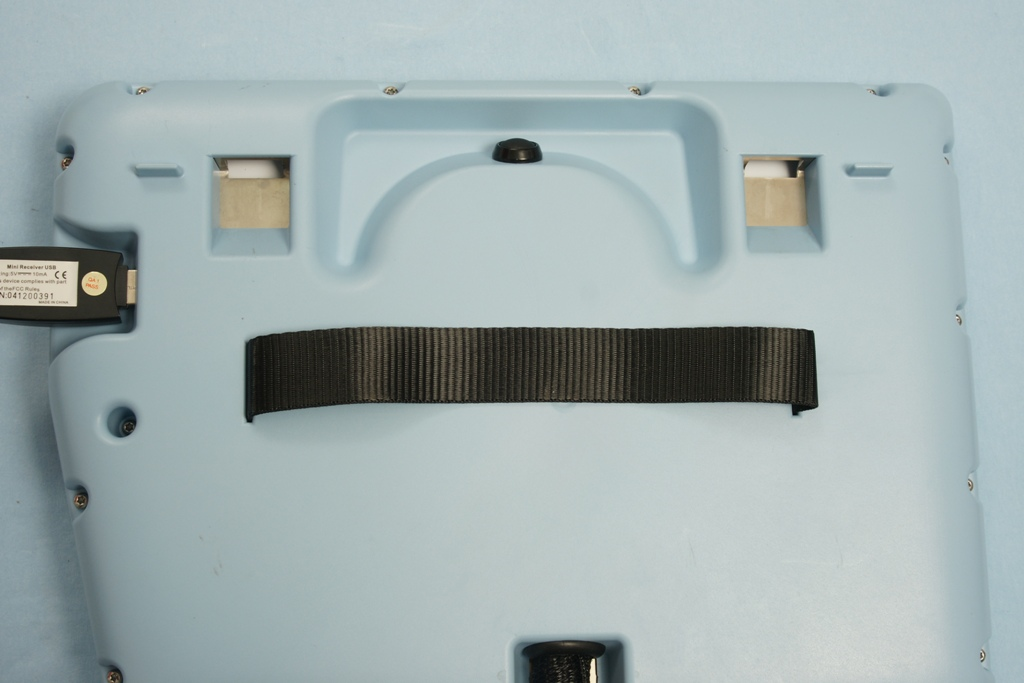
On the back side of the monitor there is a small button. Hold the monitor as shown on the photo with one hand because then it is easy the watch and handle the monitor and also to press the button on the back of the monitor.
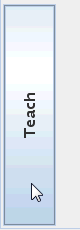
The “Teach” block in the Move Screen has the same function as the black button on back of the monitor i.e. to release the robot breaks for manual manipulation into position.
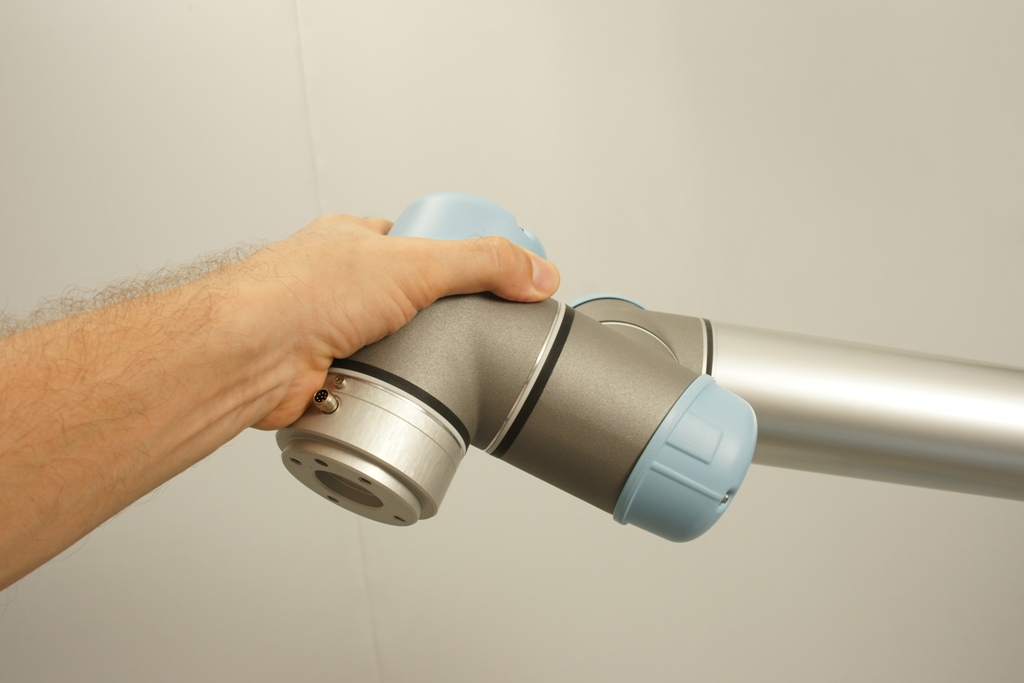
This small black button releases the breaks on the robot and you can now move the robot into position by moving with your other hand – a little effort has to be made to move it because we also don’t want to drop on the floor. (This can still happen if a heavy tool is mounted on the robot head and the payload has not been set).
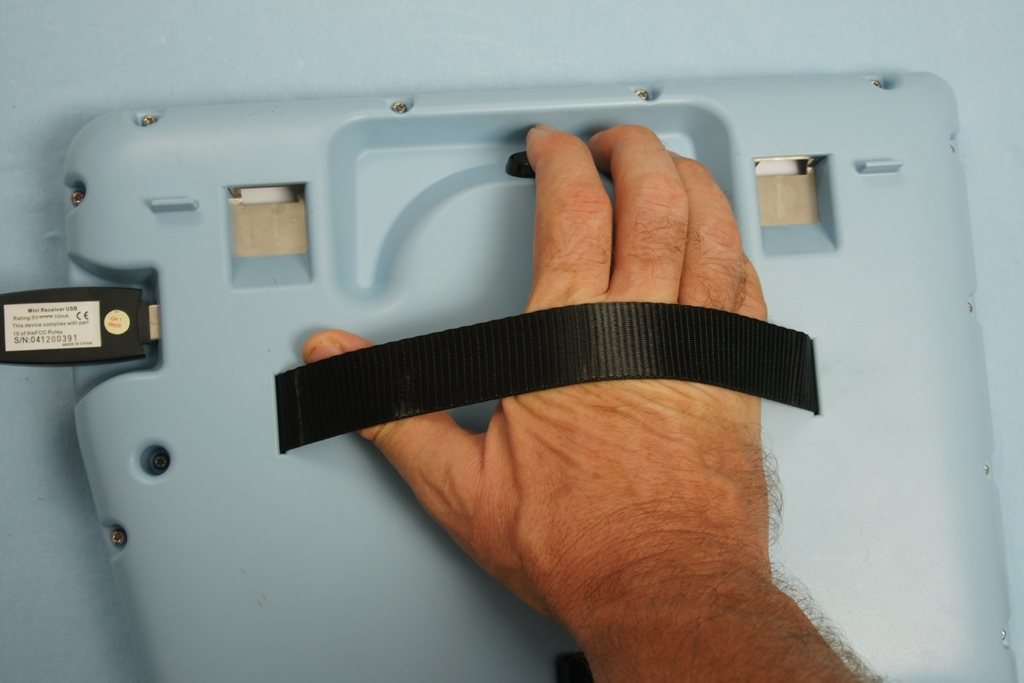
Hold the robot first and then Press and keep pressing the black button on the back of the monitor and grab the robot and start moving into your desired position.
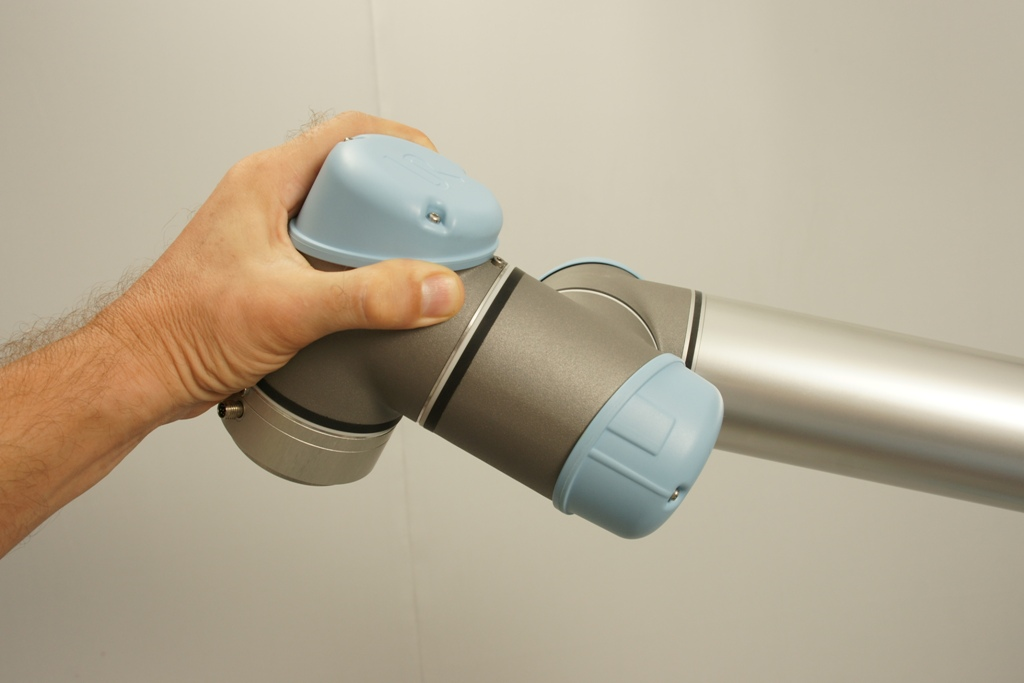

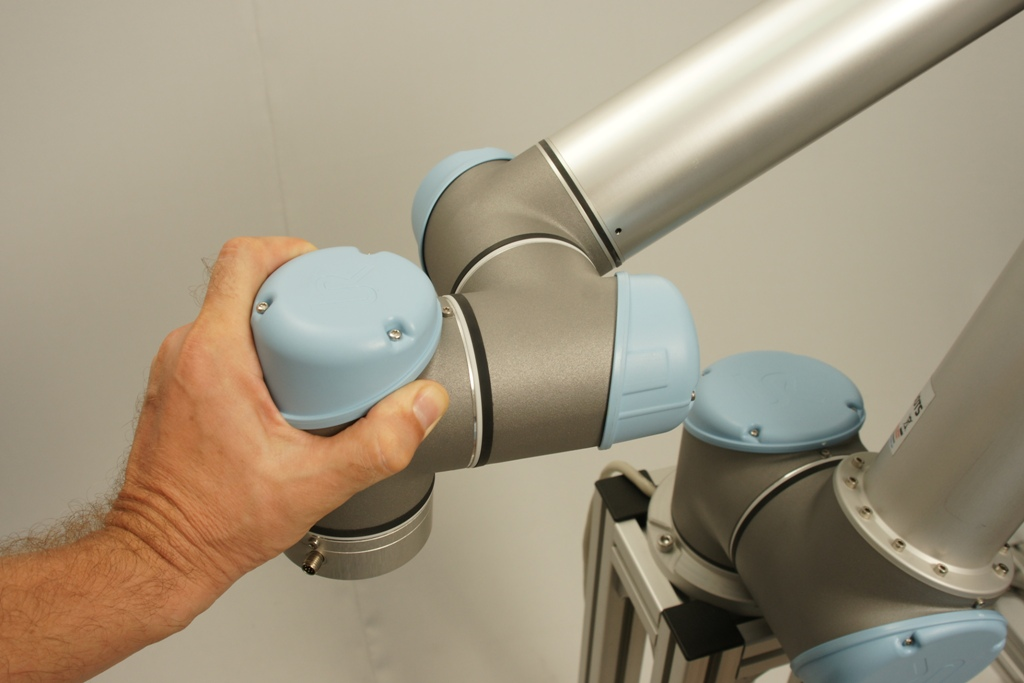
When you are happy with the position then release the black button on the monitor again.
While we were manually manipulating the robot around with our hand we had the Move Screen on the monitor. Press the “OK” button in the lower right corner of the Move Screen which takes you back to the Program window.
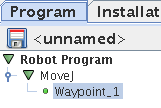
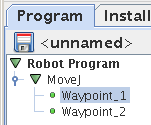
Notice how the Waypoint and the other symbols turned green because now we have defined the statement which is the Waypoint. Actually we already have a very small program because all symbols are on green, but a program with only one Waypoint is not funny to look at because it will not move the robot.
So let’s define one more Waypoint.
Press “Structure” to go to our program object menu. Choose “Waypoint” again.
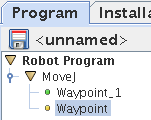
The second Waypoint has entered into the program, but it is still yellow because it is undefined, make sure you have highlighted the yellow Waypoint statement.
Press “Command” to define the Waypoint.
Press “Set this waypoint” which brings up the Move Screen.
This time we just choose to move the tool head upwards with the “Up” arrow key.
Keep pressing the “Up” key until the robot reaches a desired position and the release the “Up” key in the Move Screen.
Press “OK” on the Move Screen to go back to the Program tree window. Now we have two green Waypoint in our program.
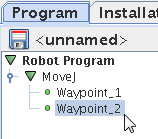
The controller software checks the syntax for us automatically and that’s why we have green symbols which mean our syntax and method is OK.
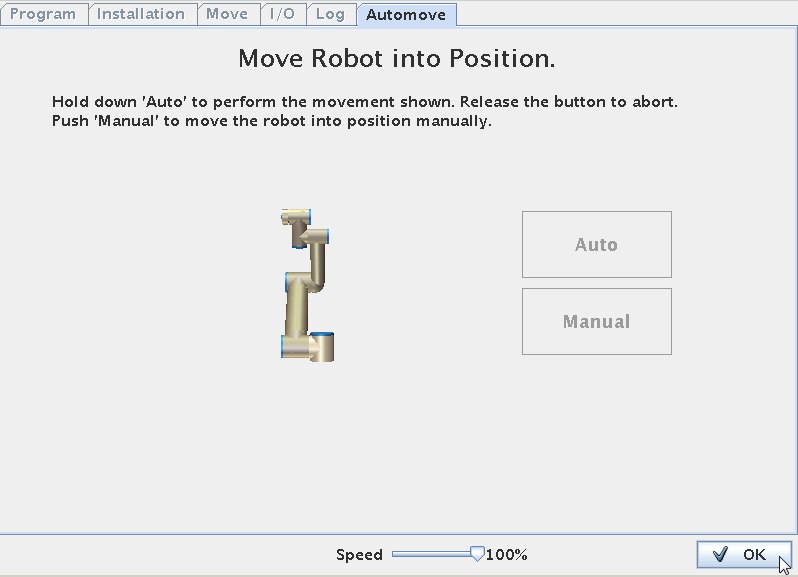
We are ready to test run our first program. Press the “Start” button (The triangle symbol). The program does not start executing right away because we left the robot in the Waypoint 2 position whereas Waypoint 1 is our “Home” position. Before we can start the running the program we need to bring the robot to this “Home” position – and therefore a Screen appear when we can move the robot either automatically or manually.
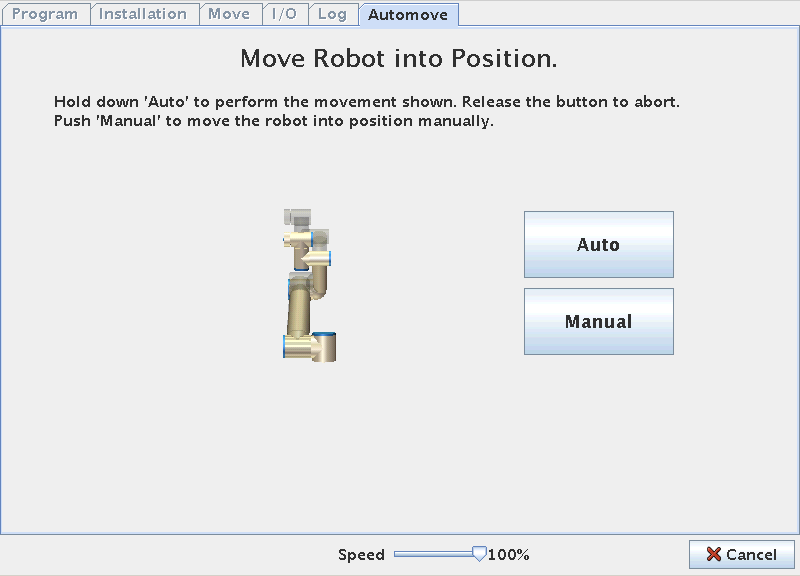
Notice how the button in the lower right corner has a red “X” and says “Cancel” because the robot is not yet in the “Home” position. The graphic also shows how the robot has to move from its current position to the “Home” position.
Make sure the robot is free from nearby obstacles.
Press and keep pressing the “Auto” button and observe the robot movements towards the “Home” position.
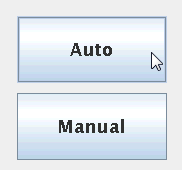
“Auto” is the easiest if the robot is free fro obstacles, but if we need to guide the robot we can also choose the manual method.
This programs “Home” Position.
When the robot reaches the “Home” position the button in the lower right corner of the Screen goes from “Cancel” to “OK”. When it says “OK” the Press ok.
Program tree Screen.
After pressing the “OK” button the program tree Screen reappear, but the robot is still not moving, but now it is in the “Home” position and can be started.
Press Start (The black triangle symbol).
The robot runs the program by it self from Waypoint_1 to Waypoint_2 continuously. This is just an Up and Down movement.

You can stop the program execution.

You can pause the program execution.

You can restart the program execution. You can control the speed during test run.
Notice how you can follow the program execution during the program run so you now where in the program the robot is.

The Speed regulator is useful for testing. During normal Run it is better control you speed in you program because the Speed regulator will slow down everything in the program inclusive of wait statements.
Disclaimer: While the Zacobria Pte. Ltd. believes that information and guidance provided is correct, parties must rely upon their skill and judgement when making use of them. Zacobria Pte. Ltd. assumes no liability for loss or damage caused by error or omission, whether such an error or omission is the result of negligence or any other cause. Where reference is made to legislation it is not to be considered as legal advice. Any and all such liability is disclaimed.
If you need specific advice (for example, medical, legal, financial or risk management), please seek a professional who is licensed or knowledgeable in that area.
Author:
By Zacobria Lars Skovsgaard
Accredited 2015-2018 Universal Robots support Centre and Forum.