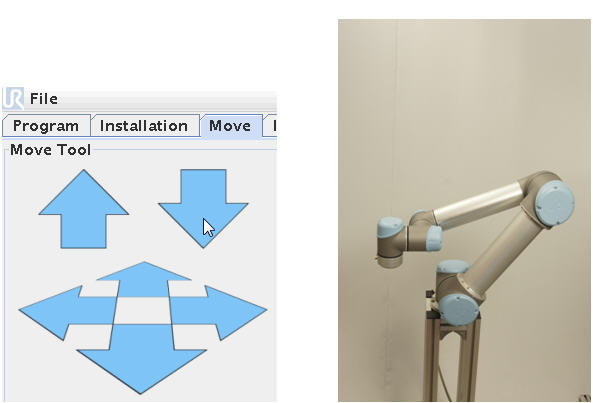
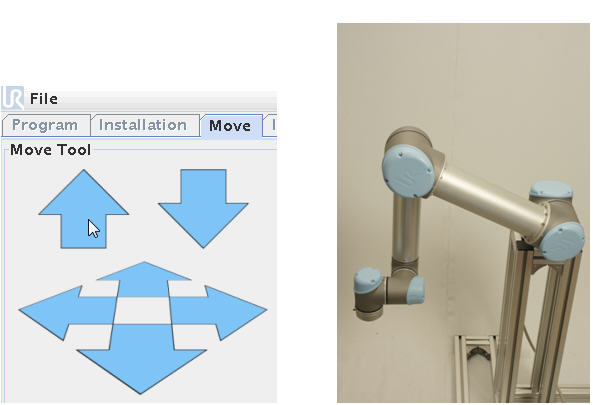
The Move Screen.
Press the Move Tab and you will see this “Move” screen.
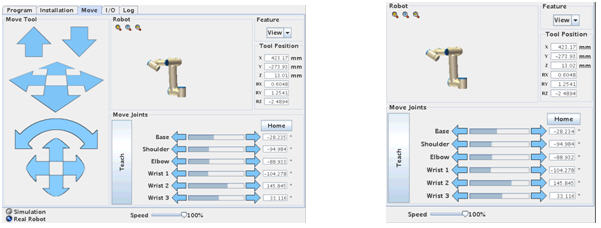
The screen has several functions, but the main purpose is to move the robot around in its space during programming and to get a report where the joints are located which are shown on the degree position of each joint or above by the X – Y and Z position indicator.
The arrow keys are the most frequent used. The right side has six arrow bars which represent each joint and its position. Each individual joint can be moved by pressing these arrow bars.
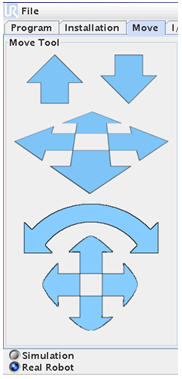
On the left side is “Combination” move control arrows. These arrows move several joints simultaneously in order to make linear moves during the programming phase. Especially the Up and Down arrows are useful for linear Up and Down movements.
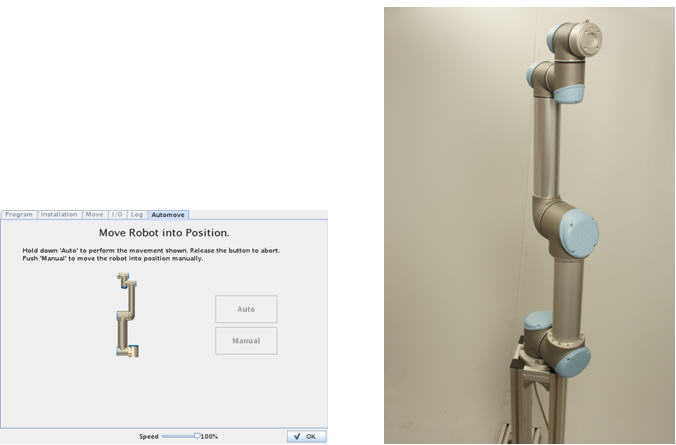
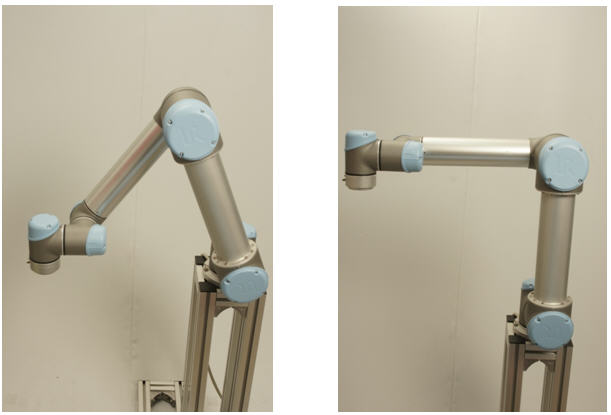
Move screen – The Home Position.
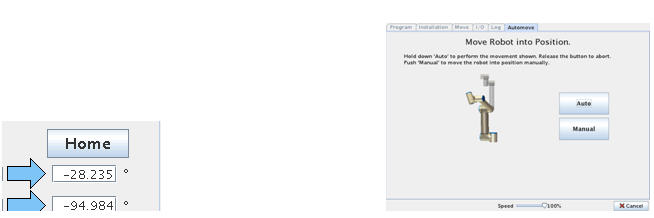
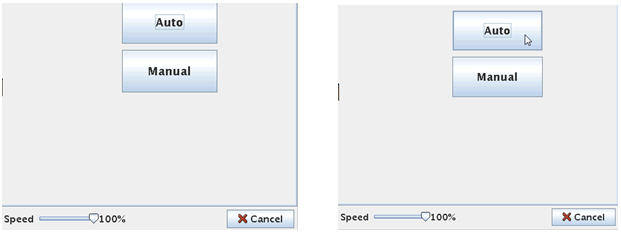
The robots natural “Home” position is straight up in the air and the Move Screen has a “Home” button. Press the “Home” button to try and position the robot into the Home position. When pressing the “Home” button the robot will not start move right away – instead we will see a “Move Robot into Position” screen because we need to do it in a controlled way in order not to crash into something. We have two options – either an Auto move or a manual move. When pressing the “Auto” button the robot will start moving into its home position by it self as long we keep pressing. Releasing the button will stop the robot move.
Notice that the button in the lower right corner has a red X and reads “Cancel” and we can press here if we want to return to the Move screen.
When the robot is fully stretched i.e. in its Home position we will see the button in the lower right corner go to “OK” with a tick symbol – which means the robot has reached the “Home” position.
This is the Robots naturally home position, but during programming you can choose any position to be your home position. When running your program the robot will first need to go to your defined home position which might be near where you want to have an action and not necessarily this robot “Home” position.
This is how the screen and robot looks like when the robot reaches the “Home” position.
If there are obstacles near the robot and there is a risk the robot will crash into these obstacles during an “Auto” move – then you can choose a “Manual” move. Press the Manual button instead – which brings you to the Move Screen. Here you have full control of the robot movements by pressing the arrow bars and you can safely guide the robot into the “Home” poison and away from obstacles.

Move screen – Moving the joints individually.
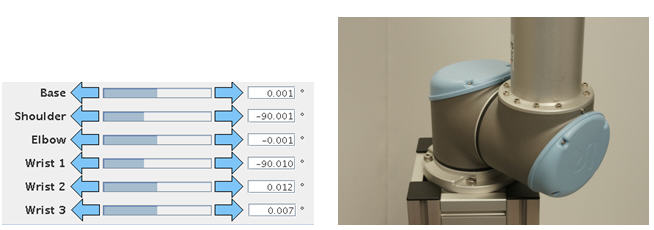
Now the robot is fully stretched is a nice position to start moving each joint to see how the robot moves. Start with the base joint and press the Arrow bar left or right and see how only the base joint moves.
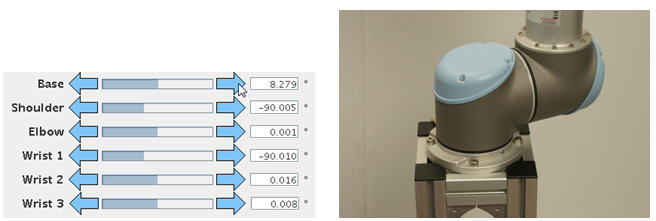
You can monitor the position of the joints by observing the digits degree indication next to the arrow bar.
After turning the base joint around – this is a good opportunity to fit our last bolts in the base if you have not already done so.
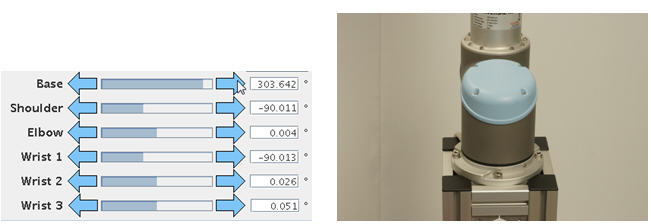
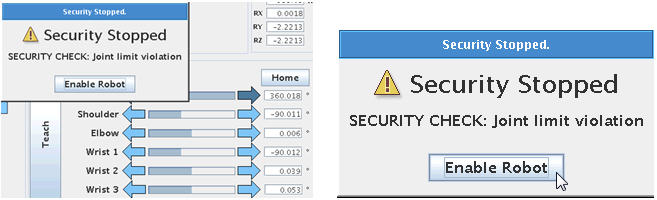
If you turn the joints all the way and beyond its limitation you we will se an Error messages “Joint Limit Violation” which is a safety stop in order not to spoil the inside of the joint. Press “Enable Robot” to acknowledge the error messages.
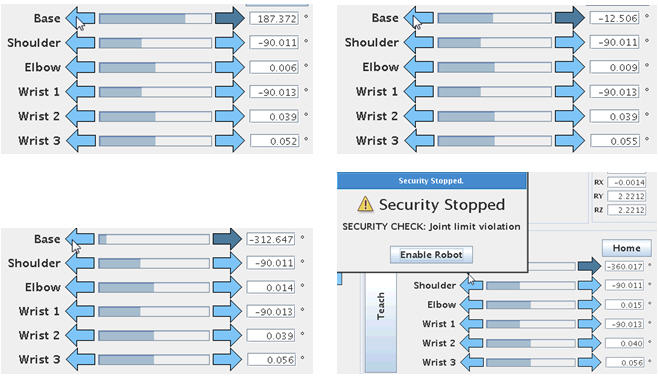
The same error messages occur when you turn the robot joint 720 degrees all the way to the other side. Press “Enable Robot” to acknowledge the error messages.
Notice how this part of the arrow bars handles each joint individually.
Move screen – move the robot linearly.
The left side of the Move Screen also has arrow keys to control the robot, but this side will perform a movement in relation to the tool head position. For example straight up or down
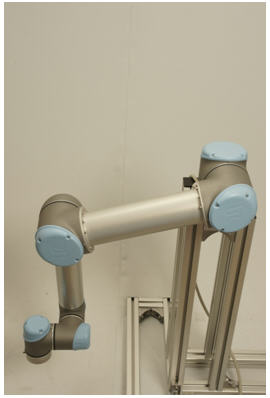
The robot moving towards the floor.
Press the “Up” arrow and get the robot back up again. Continue to press up all the way up and observe the robot.
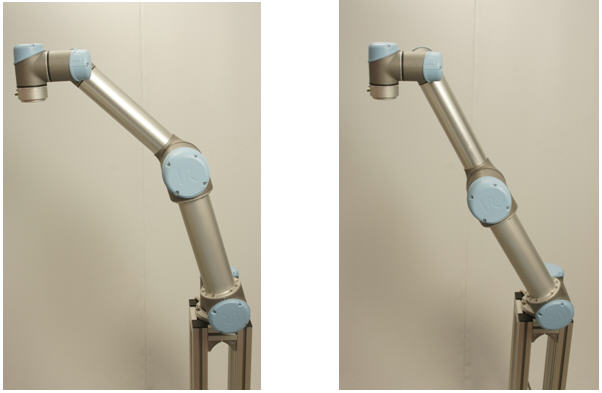
Almost fully stretched. Fully stretched and security stop.
You might notice that when the robot was very near to the top and at its limitation the speed seemed to accelerate just before the robot stopped with this “Joint Security Stop”. The security stop is obvious because the robot was following a straight line upwards and now the arm is fully stretched and it is not possible to go further up because of the physical length of the arm and therefore the security stop.
The phenomena regarding the slight speed acceleration just before the Security Stop is called a Singularity because the mathematically calculation and physical movement of the joint is reaching an illegal mathematical expression which is called a Singularity.
You can experience this also in your programming especially in MoveL (linear move mode) when you have set two Waypoints that are impossible to connect in a linear line because it would require a mathematically and mechanical illegal move and therefore you might experience such phenomena in programming called a Singularity – and the robot stop with this error messages. More about this later during explanation of MoveL programming.
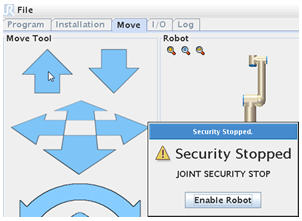
Singularity security stops.
Move screen – move robot in relation to tool head position.

On the left side on the Move Screen below the Up and Down arrow keys are a set of arrow keys that can move the robot in relation to the tool head position.
The tool head position is our references in most cases and our X, y and Z position because we often need to do our action exactly and the tool head position where our tool is mounted.
With these arrow keys the robot can be manipulated in relation to this tool head position which can be useful if you want to keep the position of your tool, but wish to move the robot arm to another posture, but with same target object as reference.
Move screen – Speed regulator.
Speed:
The speed adjustment” accelerator” 0 – 100% is meant for commissioning and troubleshooting. It is very useful to use when the robot is being manhandled and to check “what is really going on” in slow motion. But a funny thing to be aware of is that if you have made “Wait” instruction in your program – let’s say Wait 3 seconds – and then if you turn your speed down to 50% – then guess what – your wait instruction became 6 seconds – maybe not what you expected.
During normal run – you need to program your intended speeds and run it at 100% – it is better programming method.
But the first time you test run your program and robot near your other machine or packing line – then it is advisable to run at a slower speed in order to have more time to react and stop the robot if the program and move did not follow your intention.

Move screen – X, Y, Z indicator.
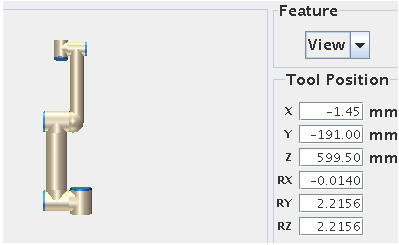
On the right hand of the Move Screen is the X, Y and Z numeric position of the robot and tool head. This can be useful especially in Script programming mode.
Move screen – simulator view.
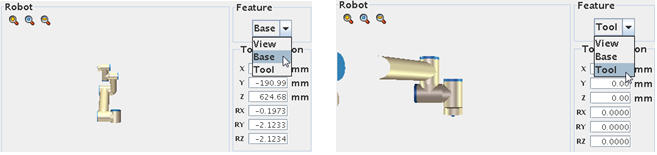
In the middle of the move screen is a graphic representation of the robot position which is useful as a guide for the robot posture. You can choose between two different views (Base view or Tool view) i.e. angles of the graphic representation.
Disclaimer: While the Zacobria Pte. Ltd. believes that information and guidance provided is correct, parties must rely upon their skill and judgement when making use of them. Zacobria Pte. Ltd. assumes no liability for loss or damage caused by error or omission, whether such an error or omission is the result of negligence or any other cause. Where reference is made to legislation it is not to be considered as legal advice. Any and all such liability is disclaimed.
If you need specific advice (for example, medical, legal, financial or risk management), please seek a professional who is licensed or knowledgeable in that area.
Author:
By Zacobria Lars Skovsgaard
Accredited 2015-2018 Universal Robots support Centre and Forum.